
Drag and drop with DataTransfer Object in JavaScript
Learn how the DataTransfer object powers drag-and-drop in JavaScript.


The DataTransfer object in JavaScript is the fundamental component of drag-and-drop interactions and clipboard operations.
This is not to be confused with DTOs — which is a pattern that determines how data is sent between different layers of an application.
This JavaScript object provides a structured way to store and transfer various data types such as text, files, and images.
This article focuses on building a basic HTML drag-and-drop flow using the DataTransfer object, which you can customize.
By the end of this article, you’ll learn how to build a drag-and-drop feature similar to the one below.

Prerequisites
A basic understanding of JavaScript is required.
Knowledge of HTML and CSS is also essential but not compulsory.
An IDE or text editor of your choice.
Project Setup
Create a drag-and-drop-js folder in your workspace.
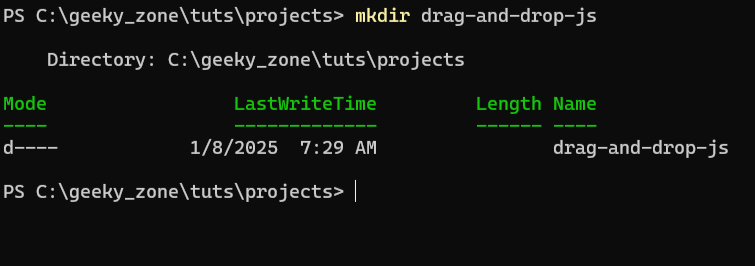
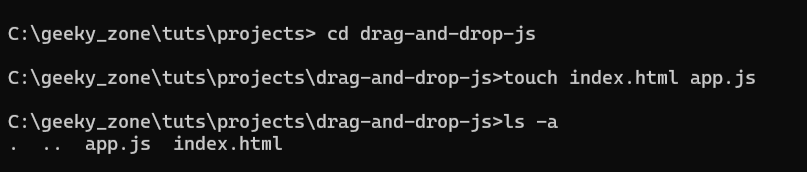
Next, change the current directory into the newly created folder.
Create the index.html and app.js files, then open the directory in your preferred IDE or text editor. I use VSCode, but WebStorm or Zed are good alternatives if you'd rather use them.
Web page design
Let’s create a basic HTML5 skeleton and dive right in.
<!DOCTYPE html>
<html lang="en">
  <head>
    <meta charset="UTF-8" />
    <meta name="viewport" content="width=device-width, initial-scale=1.0" />
    <title>Document</title>
  </head>

  <body></body>
</html>
Create user interface
Understanding the Code Changes
The title was updated to make our webpage more descriptive.
A
containerclass was added to help us style and center our components.An
h1element was included to provide a clear header for the webpage.An
ulelement was added to display a list of the selected files.
Styling the interface
Inline styling would be used for this project to make it simple.
Insert a <style> tag within the <head></head> section of your index.html file and paste the following code inside the <style></style> tag.
Next, load the webpage in your browser. If you followed the above correctly, you should have something similar to the image below.

Finally, we insert the <script> tag into the HTML document, linking it to the JavaScript file we created earlier.
Your index.html file should look similar to what we have below if you followed the tutorial correctly.
<!DOCTYPE html>
<html lang="en">
  <head>
    <meta charset="UTF-8" />
    <meta name="viewport" content="width=device-width, initial-scale=1.0" />
    <title>Interactive File Upload Demo</title>
    <style>
      body {
        font-family: Arial, sans-serif;
        padding: 20px;
        background-color: #f9f9f9;
      }

      .container {
        display: flex;
        flex-direction: column;
        justify-content: center;
        align-items: center;
      }

      .text-large {
        text-align: center;
      }

      .file-upload-container {
        border: 2px dashed #ccc;
        padding: 20px;
        width: 400px;
        margin-bottom: 20px;
        background-color: white;
        box-shadow: 0 4px 8px rgba(0, 0, 0, 0.1);
      }

      .file-list {
        list-style: none;
        padding: 0;
      }

      .file-item {
        display: flex;
        align-items: center;
        justify-content: space-between;
        margin: 10px 0;
        background-color: #f0f0f0;
        padding: 10px;
        border-radius: 4px;
        box-shadow: 0 2px 4px rgba(0, 0, 0, 0.1);
        transition: transform 0.3s;
      }

      .file-item:hover {
        transform: scale(1.05);
      }

      .file-item img.preview {
        max-width: 50px;
        max-height: 50px;
        margin-left: 10px;
      }

      .file-type-icon {
        margin-right: 10px;
        width: 20px;
        height: 20px;
      }

      .remove-btn {
        cursor: pointer;
        color: red;
        font-size: 18px;
        font-weight: bold;
      }

      .drag-area {
        border: 2px dashed #66cc66;
        padding: 60px;
        text-align: center;
        margin-bottom: 20px;
        background-color: #e9f7e9;
        border-radius: 8px;
        cursor: pointer;
      }
    </style>
  </head>

  <body>
    <div class="container">
      <h1 class="text-large">Interactive File Upload</h1>

      <div class="file-upload-container">
        <div class="drag-area" id="drag-area">Drag and Drop Files Here</div>
        <ul id="file-list" class="file-list"></ul>
      </div>
    </div>

    <script src="app.js"></script>
  </body>
</html>
Drag and Drop Functionality
Let’s create the base logic for our drag-and-drop functionality.
Paste the code below inside the app.js file.
document.addEventListener("DOMContentLoaded", () => {
    const fileListContainer = document.getElementById("file-list");
    const dragArea = document.getElementById("drag-area");

    dragArea.addEventListener("dragover", (event) => event.preventDefault());
    dragArea.addEventListener("drop", handleFileDrop);

    function handleFileDrop(event) {
    }

    // Display icon function
    function getFileTypeIcon(file) {
    }

    // Remove file function
    function createRemoveButton(fileItem) {
    }
});
Implement the getFileTypeIcon functionality.
    function getFileTypeIcon(file) {
        const icon = document.createElement("img");
        if (file.type.startsWith("image/")) {
            icon.src = "https://img.icons8.com/ios-filled/50/000000/image.png";
        } else if (file.type === "application/pdf") {
            icon.src = "https://img.icons8.com/ios-filled/50/000000/pdf-2.png";
        } else {
            icon.src = "https://img.icons8.com/ios-filled/50/000000/file.png";
        }
        icon.classList.add("file-type-icon");
        return icon;
    }
Code Explanation
Programmatically created a new
<img>element using thedocument.createElementmethod.Conditional expression to set the
srcattribute to the proper icons for the type of file selected.Added a class to the
<img>element so that the style we defined earlier is applied to it.
Implement the createRemoveButton functionality
  function createRemoveButton(fileItem) {
        const removeButton = document.createElement("span");
        removeButton.classList.add("remove-btn");
        removeButton.textContent = "✖";
        removeButton.onclick = () => {
            fileItem.remove();
        };
        return removeButton;
    }
Code Explanation
Programmatically created a new
<span>element using thedocument.createElementmethod.A class was added to the
<span>element to apply the style we defined earlier.The
onclickfunction was added to enable the functionality of removing the selected file.
Implement the handleFileDrop functionality.
 function handleFileDrop(event) {
        event.preventDefault();
        const files = event.dataTransfer.files;
        if (files.length === 0) return;

        // Handle dropped files
        Array.from(files).forEach((file) => {
            const fileItem = document.createElement("li");
            fileItem.classList.add("file-item");
            const fileTypeIcon = getFileTypeIcon(file);
            const removeButton = createRemoveButton(fileItem);

            const fileInfo = document.createElement("span");
            fileInfo.textContent = file.name;

            fileItem.appendChild(fileTypeIcon);
            fileItem.appendChild(fileInfo);

            // If the file is an image, show a preview
            if (file.type.startsWith("image/")) {
                const reader = new FileReader();
                reader.onload = () => {
                    const img = document.createElement("img");
                    img.src = reader.result;
                    img.classList.add("preview");
                    fileItem.appendChild(img);
                    fileItem.appendChild(removeButton);
                };
                reader.readAsDataURL(file);
            } else {
                fileItem.appendChild(removeButton);
            }
            fileListContainer.appendChild(fileItem);
        });
    }
Code Explanation
event.preventDefault()prevents the default behavior for the drop event.event.dataTransfer.filesis used to get the list of files dropped onto the target.For each file, an
<li>element is created and assigned afile-itemclass.If the file is an image (checked via
file.type.startsWith("image/")), a preview is generated usingFileReader.An image element (
<img>) is created, and its source is set to the file data.The image is appended along with the remove button.
Each
fileItemis appended to thefileListContainerfor display on the page.
Finally, let’s reload the web and test the drag-and-drop functionality.

Key Takeaways
The DataTransfer object provides a way to interact with files in JavaScript. It is also essential for drag-and-drop interactions and clipboard operations.
This article provided a step-by-step tutorial on implementing a drag-and-drop feature using the
DataTransferobject.We covered setting up a basic HTML and JavaScript project to create a drag-and-drop interface.
The tutorial also included creating user interface elements, styling them, and implementing JavaScript functions for handling file drops.
If you like to explore more functionality of the DataTransfer object, read the MDN docs.
If you liked this article, consider following me for more articles like this.
You can also reach me on X (formerly Twitter) and LinkedIn.